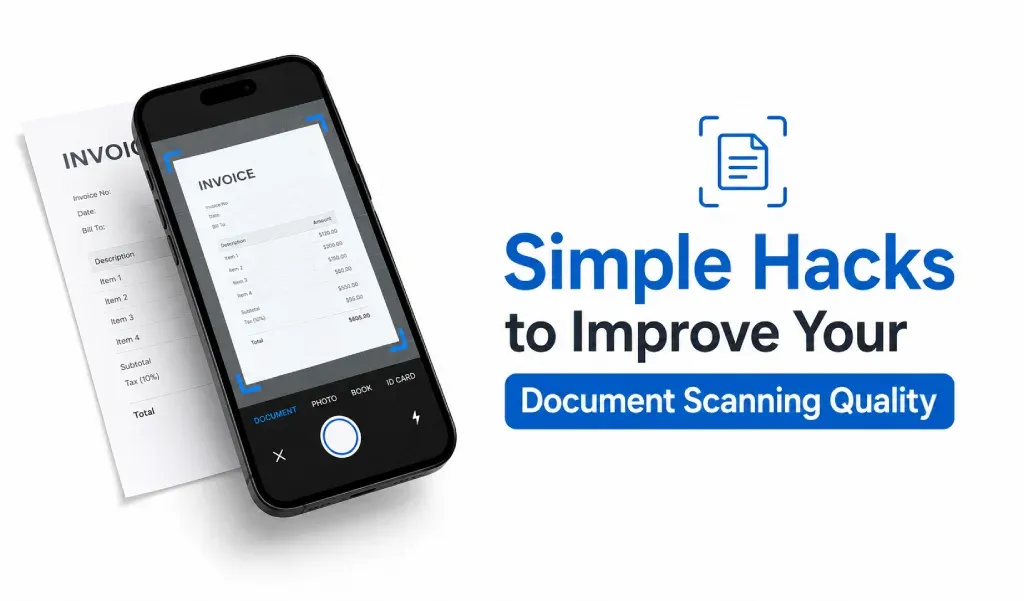
Most people think scanning a document is simple. Open a PDF scanner app, take a photo, and save it.
But if you’ve ever tried scanning an important document, you already know the truth.
The result often looks unprofessional. Blurry text. Uneven lighting. Crooked pages.
The problem is not your phone. It’s how you scan. Let’s fix that.
1. Stop Using Overhead Lights (Use Side Lighting Instead)
This is something most people don’t know.
Direct light from above creates harsh shadows, especially near your hands or phone edges. That’s why your scanned PDF often has dark patches.
Instead, place light from the side. Even a window or table lamp works.
This one change alone can dramatically improve your document scanning quality.
2. Your Background Matters More Than You Think
Most people scan documents on random surfaces. Beds, textured tables, or colored backgrounds. That confuses the document scanner. Always use a plain, contrasting background.
White paper → dark surface
Dark paper → light surface
This helps the PDF scanner app detect edges faster and more accurately.
3. Don’t Get Too Close to the Document
A common mistake is zooming in too much. When you bring your phone too close, edges get distorted. The document may look stretched or uneven after converting to PDF.
Keep a small distance and let the app crop automatically. Modern scan to PDF tools are built for this.
4. Turn Off Camera Filters (Yes, Seriously)
Some phones apply automatic filters like HDR or AI enhancement.
Sounds helpful, but it often ruins document clarity. Text becomes unnatural or over-sharpened.
Use a clean capture mode inside your document scanner app. Let the PDF converter handle optimization instead.
5. Use “Black & White” Mode for Text Documents
Most people scan in color by default. But for documents with only text, color is unnecessary. It increases file size and reduces readability.
Switch to black & white or grayscale mode.
This makes your PDF:
- Smaller in size
- Sharper in text
- Easier to read
6. Scan Slightly Wider Than the Document
This is a pro trick. Instead of trying to perfectly fit the document in your frame, capture a slightly larger area.
Why?
Because edge detection works better when it has extra space. Your PDF scanner app will crop it cleanly and give better results.
7. Avoid Folding Lines and Wrinkles
Even small folds can affect scan quality. They create shadows and uneven tones in your PDF file.
Before scanning:
- Smooth the paper
- Press it flat
This is especially important for official documents.
8. Check Preview Before Final Conversion
Most people skip this step.
They scan → convert → done.
Instead, always check preview before saving the PDF.
9. Use Batch Scanning the Smart Way
When scanning multiple pages, people rush. That creates inconsistent PDFs. Some pages look bright, others dark.
Keep everything consistent:
- Same lighting
- Same angle
- Same distance
This makes your final PDF look clean and professional.
10. Your Scanner App Matters More Than Your Camera
Here’s the truth most people ignore. A good camera does not guarantee a good scan.
A good PDF scanner and converter app does.
Because it handles:
- edge detection
- image cleanup
- PDF optimization
That’s what actually improves your final output.
Final Thoughts
Improving document scanning quality is not about expensive tools. It’s about small, smart adjustments.
Once you understand how scanning works, even a basic phone can create high-quality PDFs.
So next time you scan a document, don’t just capture it.
Scan it the right way.